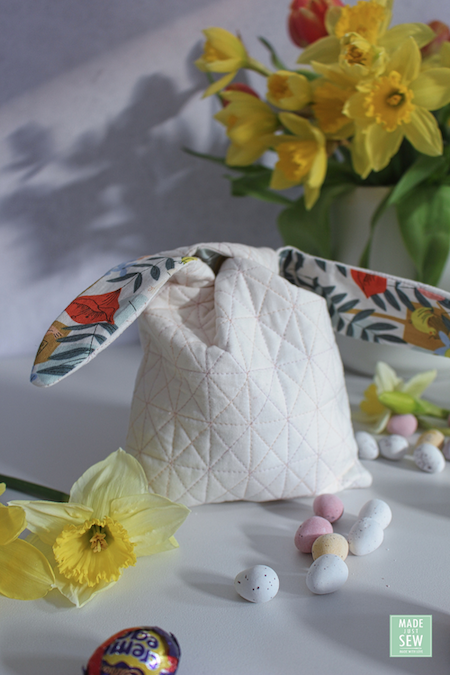
Free Quilted Bunny Bag Tutorial!
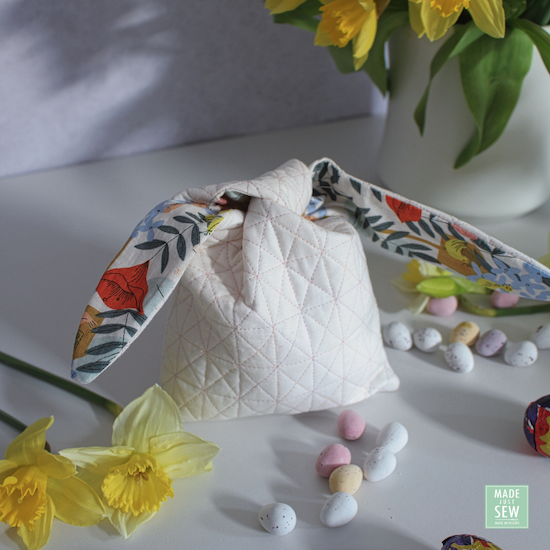
Fancy making some quick and easy quilted bunny bags to fill with your favourite chocolate eggs and spoil the kids (and big kids) in your life this Easter? Then I have you covered!
First step is to print out the FREE bunny bag template and attach the two pieces matching the arrows together on the template.
What you will need:
lining fabric
fabric for the front and back
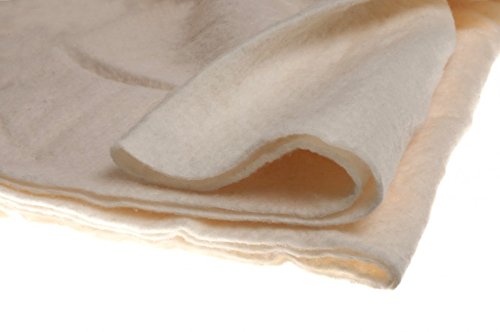
wadding
thread for quilting
basting spray (optional)
Pom Pom Maker (optional)


Step one
Pick your lining material - choose something fun and colourful to contrast against the plain fabric (if you choose plain!) on the outside!
Pick your fabric for the front and back/ outside of the bag. Keep in mind this material will be quilted.
Cut your wadding big enough to cover an extra 2 inches around the template.

Step 2
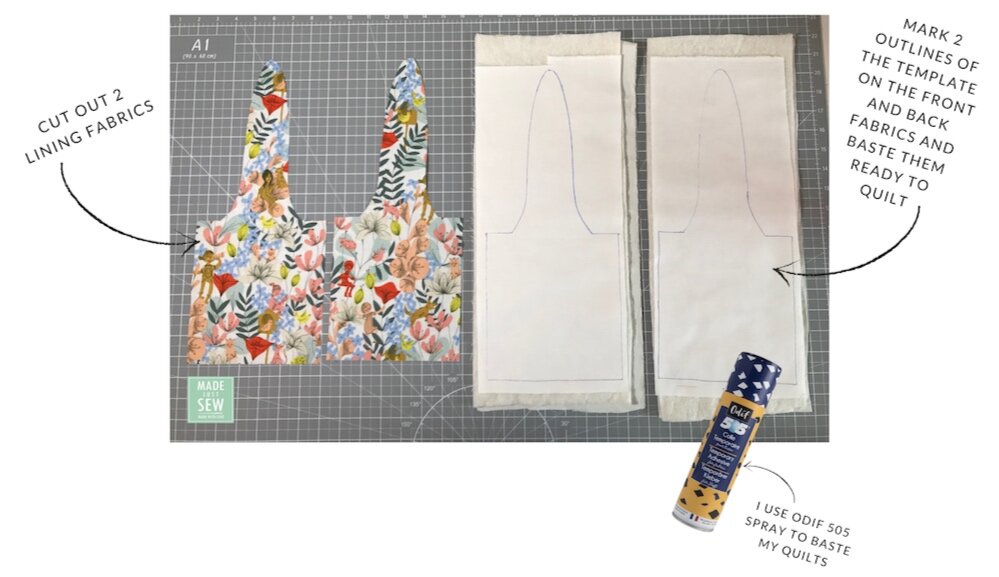
Cut 2 lining pieces from the template
Draw around the template on the 2 pieces of fabric for the outside of the bag
Baste the front and back material to the wadding. (I also use a piece of scrap material on the back of my ‘quilt sandwich” when I baste these pieces as I find it gives a better quilted plushy finish - this fabric doesn’t need to be anything fancy as it will be hidden in the finished bag).
Step 3
Choose a pattern to quilt the front and back and enjoy!
I used the ‘Walk’ book to choose a quilting pattern and coloured Aurifil Thread to make the quilting pattern stand out.

Step 4
Place a lining fabric right-sides together with a quilted piece and sew around the ear section with a 1/4” seam allowance.
Repeat this step with the remaining pieces.

Step 5
Fold back the lining fabric as shown below;

Step 6
Place these 2 pieces right-sides together, matching the quilted sides together and the lining sides together.
Fold the ears back and pin out of the way to ensure you don’t sew over them.
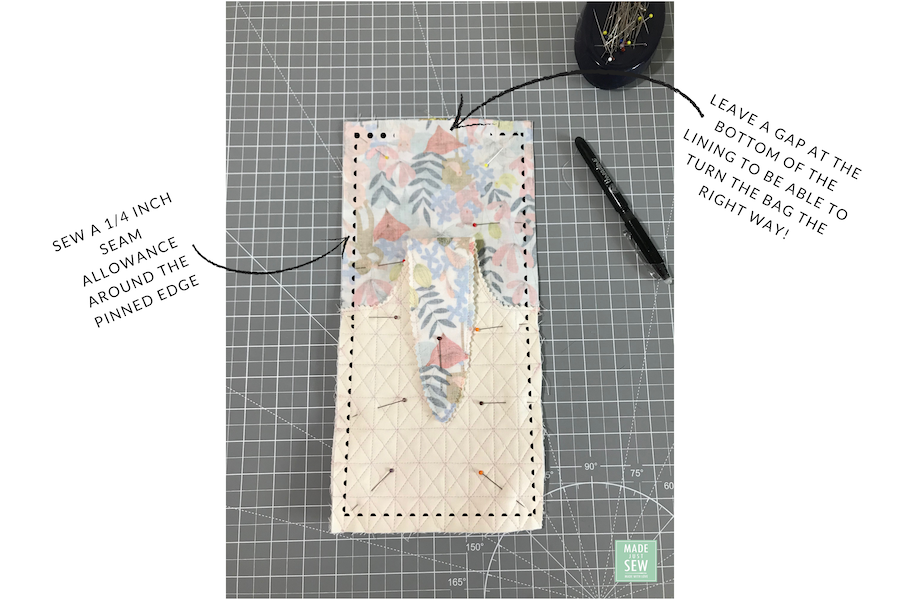
Pin around the edge.

Step 7
Sew a 1/4” seam allowance around the entire edge leaving a gap at the base of the lining section.
This gap is left to be able to turn the bag inside out.
Step 8
Use crimping scissors to trim the excess around the edge making it easier to turn the bag the right way round.

Step 9
Pull the bag through the gap left to be the right way round.
Use the blunt end of a pencil or something similar to help push the points of the ears through and the corners of the bag.
Sew the gap up.
Carefully push the lining into the inside of the bag
Give a gentle press with a cool iron.

Step 10
For added cuteness, make a pom pom for the bunny tail and sew it to one side of the bag!

Please remember to share all your Quilted Bunny Bags over on instagram using the hashtag #bunnybagquilt and #madejustsewpatterns and tag me @madejustsew as I would love to see them!
I hope you enjoyed this post,

Shopping List:
These are products that I recommend for this project, and if you click on these links, I may earn a small commission. This is one fo the ways in which I can continue to provide high quality, free content. You can learn more about that here.