
How to make a Christmas Wholecloth Quilt!
Want to learn how to make a quick, beautiful festive quilt in time for the festive season - then a Christmas wholecloth quilt is for you!
Never quilted before? Not a problem - this is the best place to start as there is no complicated quilt tops to make, it is two whole pieces of fabric sandwiched between wadding and I am going to take you through it step by step in this blog post.

If you are based in the UK, check out my Top Ten on-line Fabric shops for some fabric inspiration!
What you will need:
2 metres (or yards if you are across the pond) of fabric. This will make your quilt top and back. 1m for the top, 1m for the backing.
1/2m (or 1/2 yard) of binding material
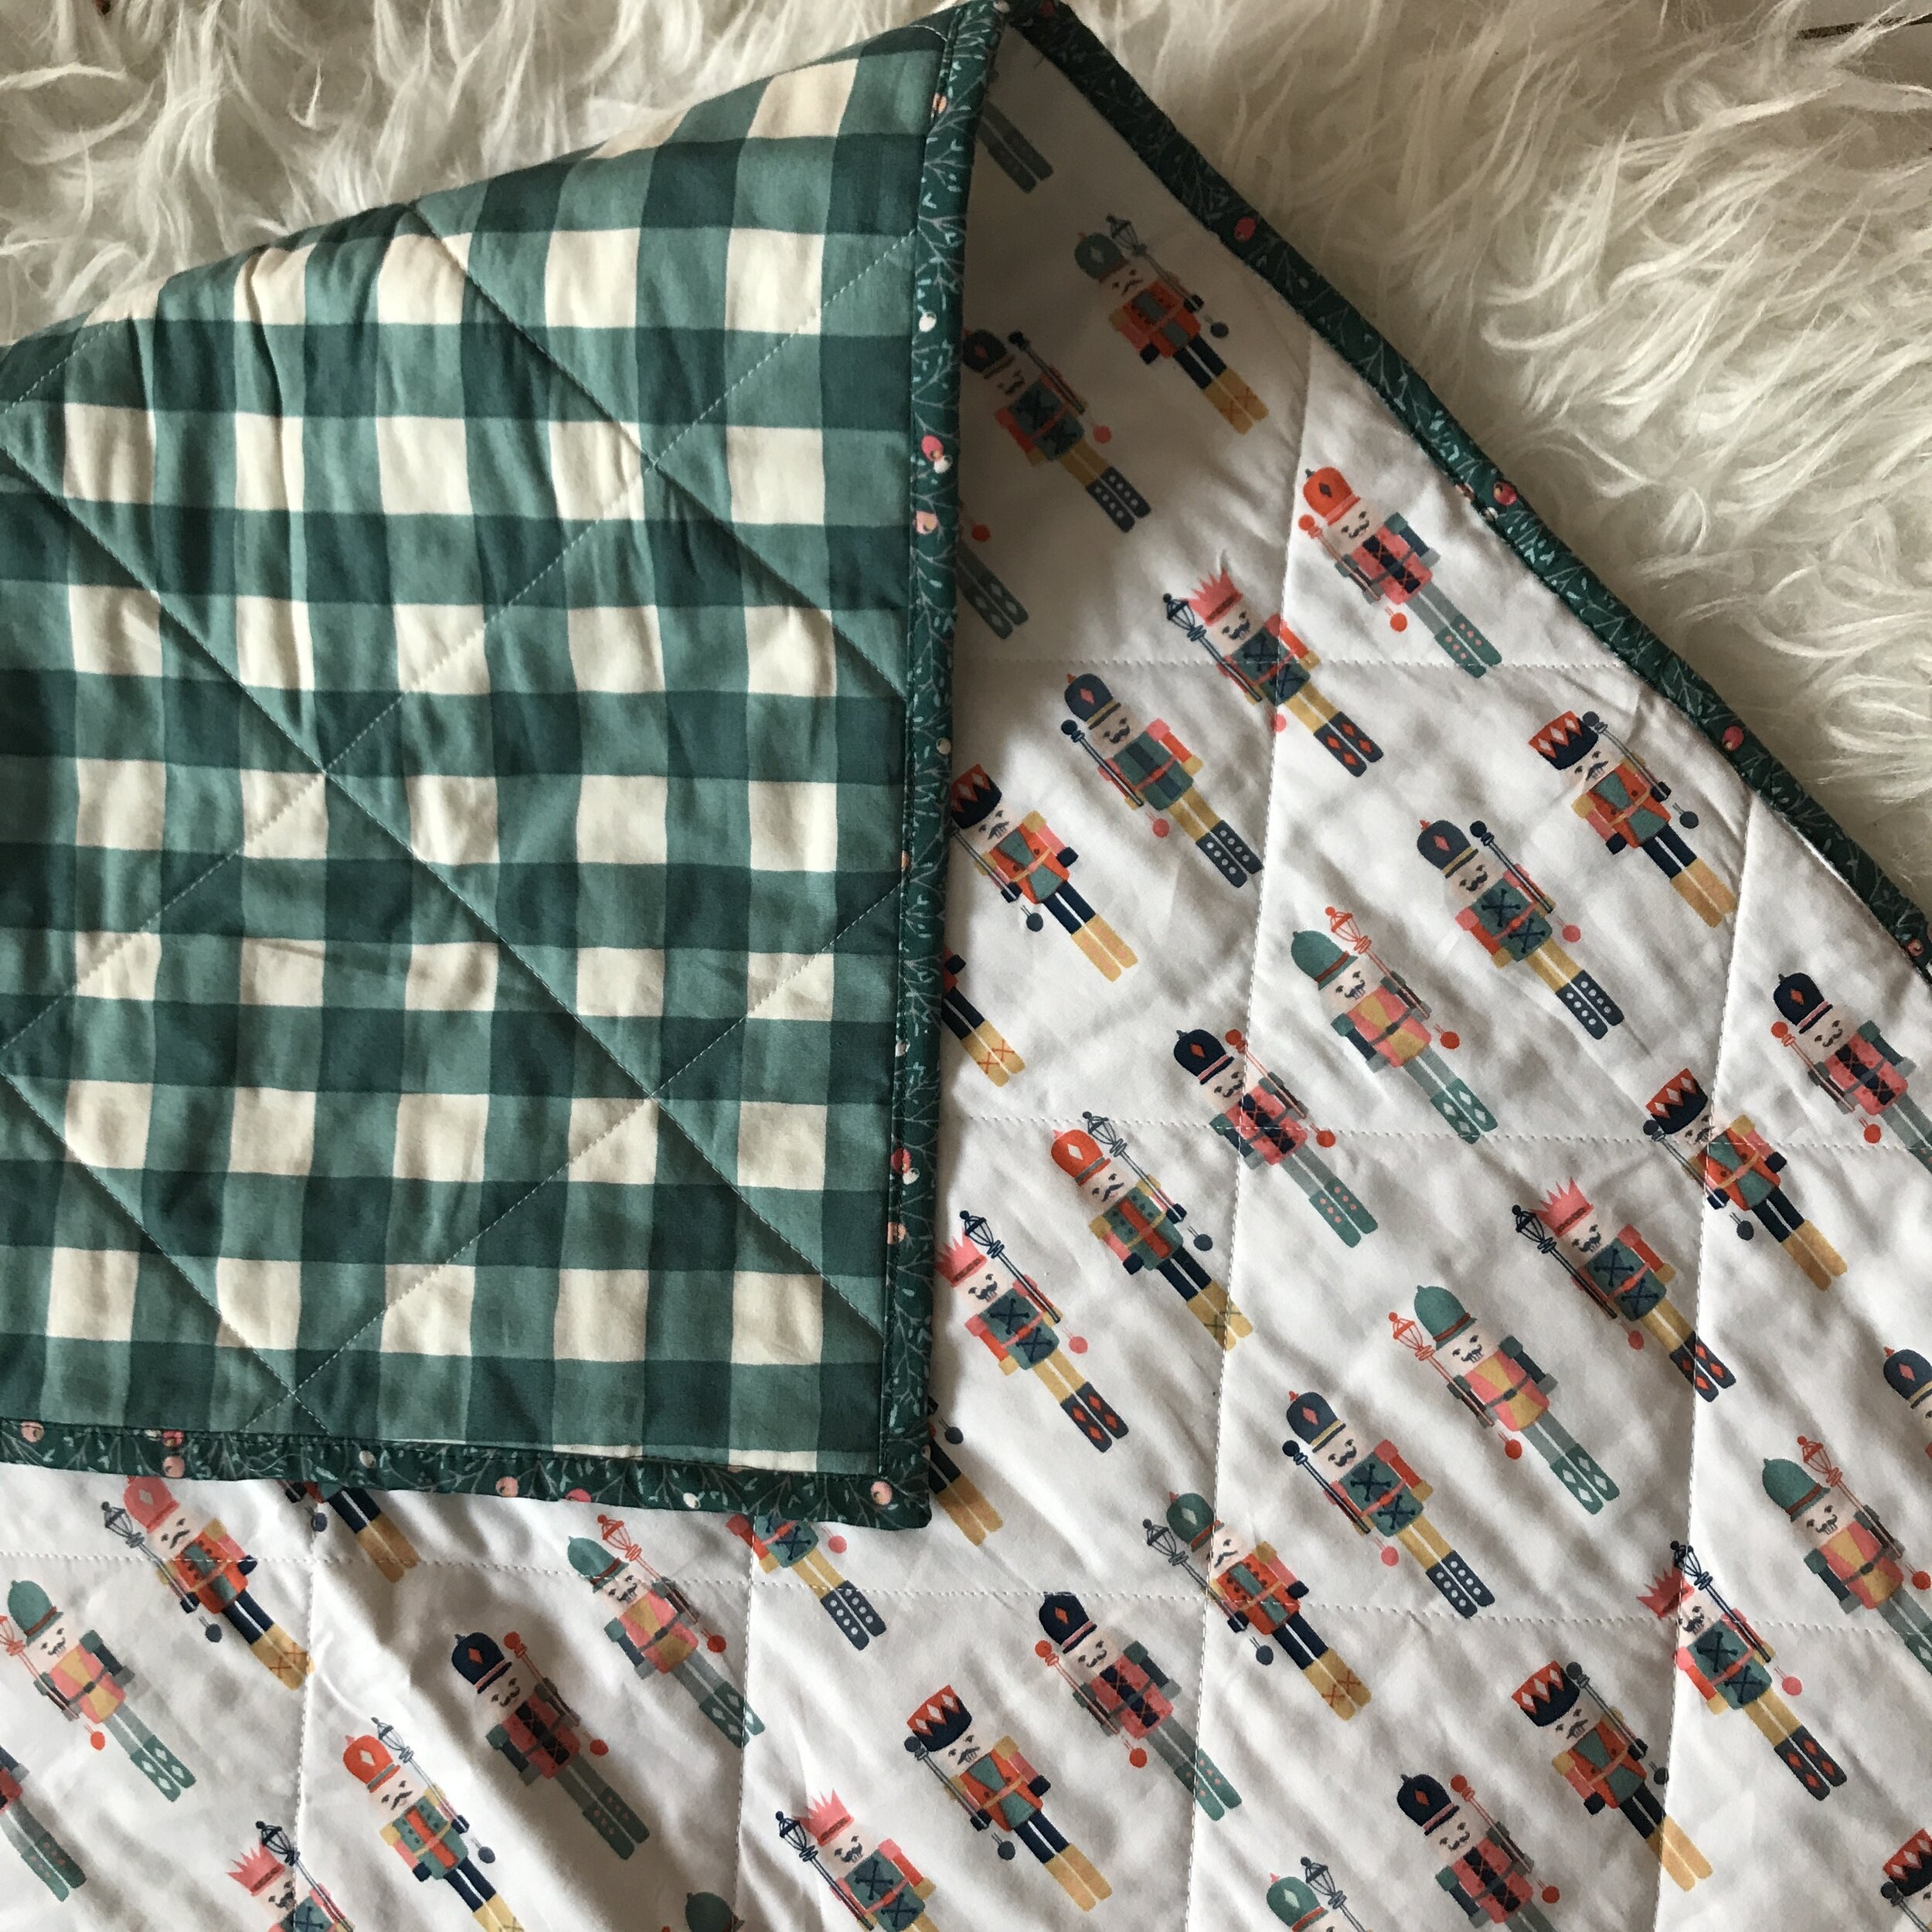
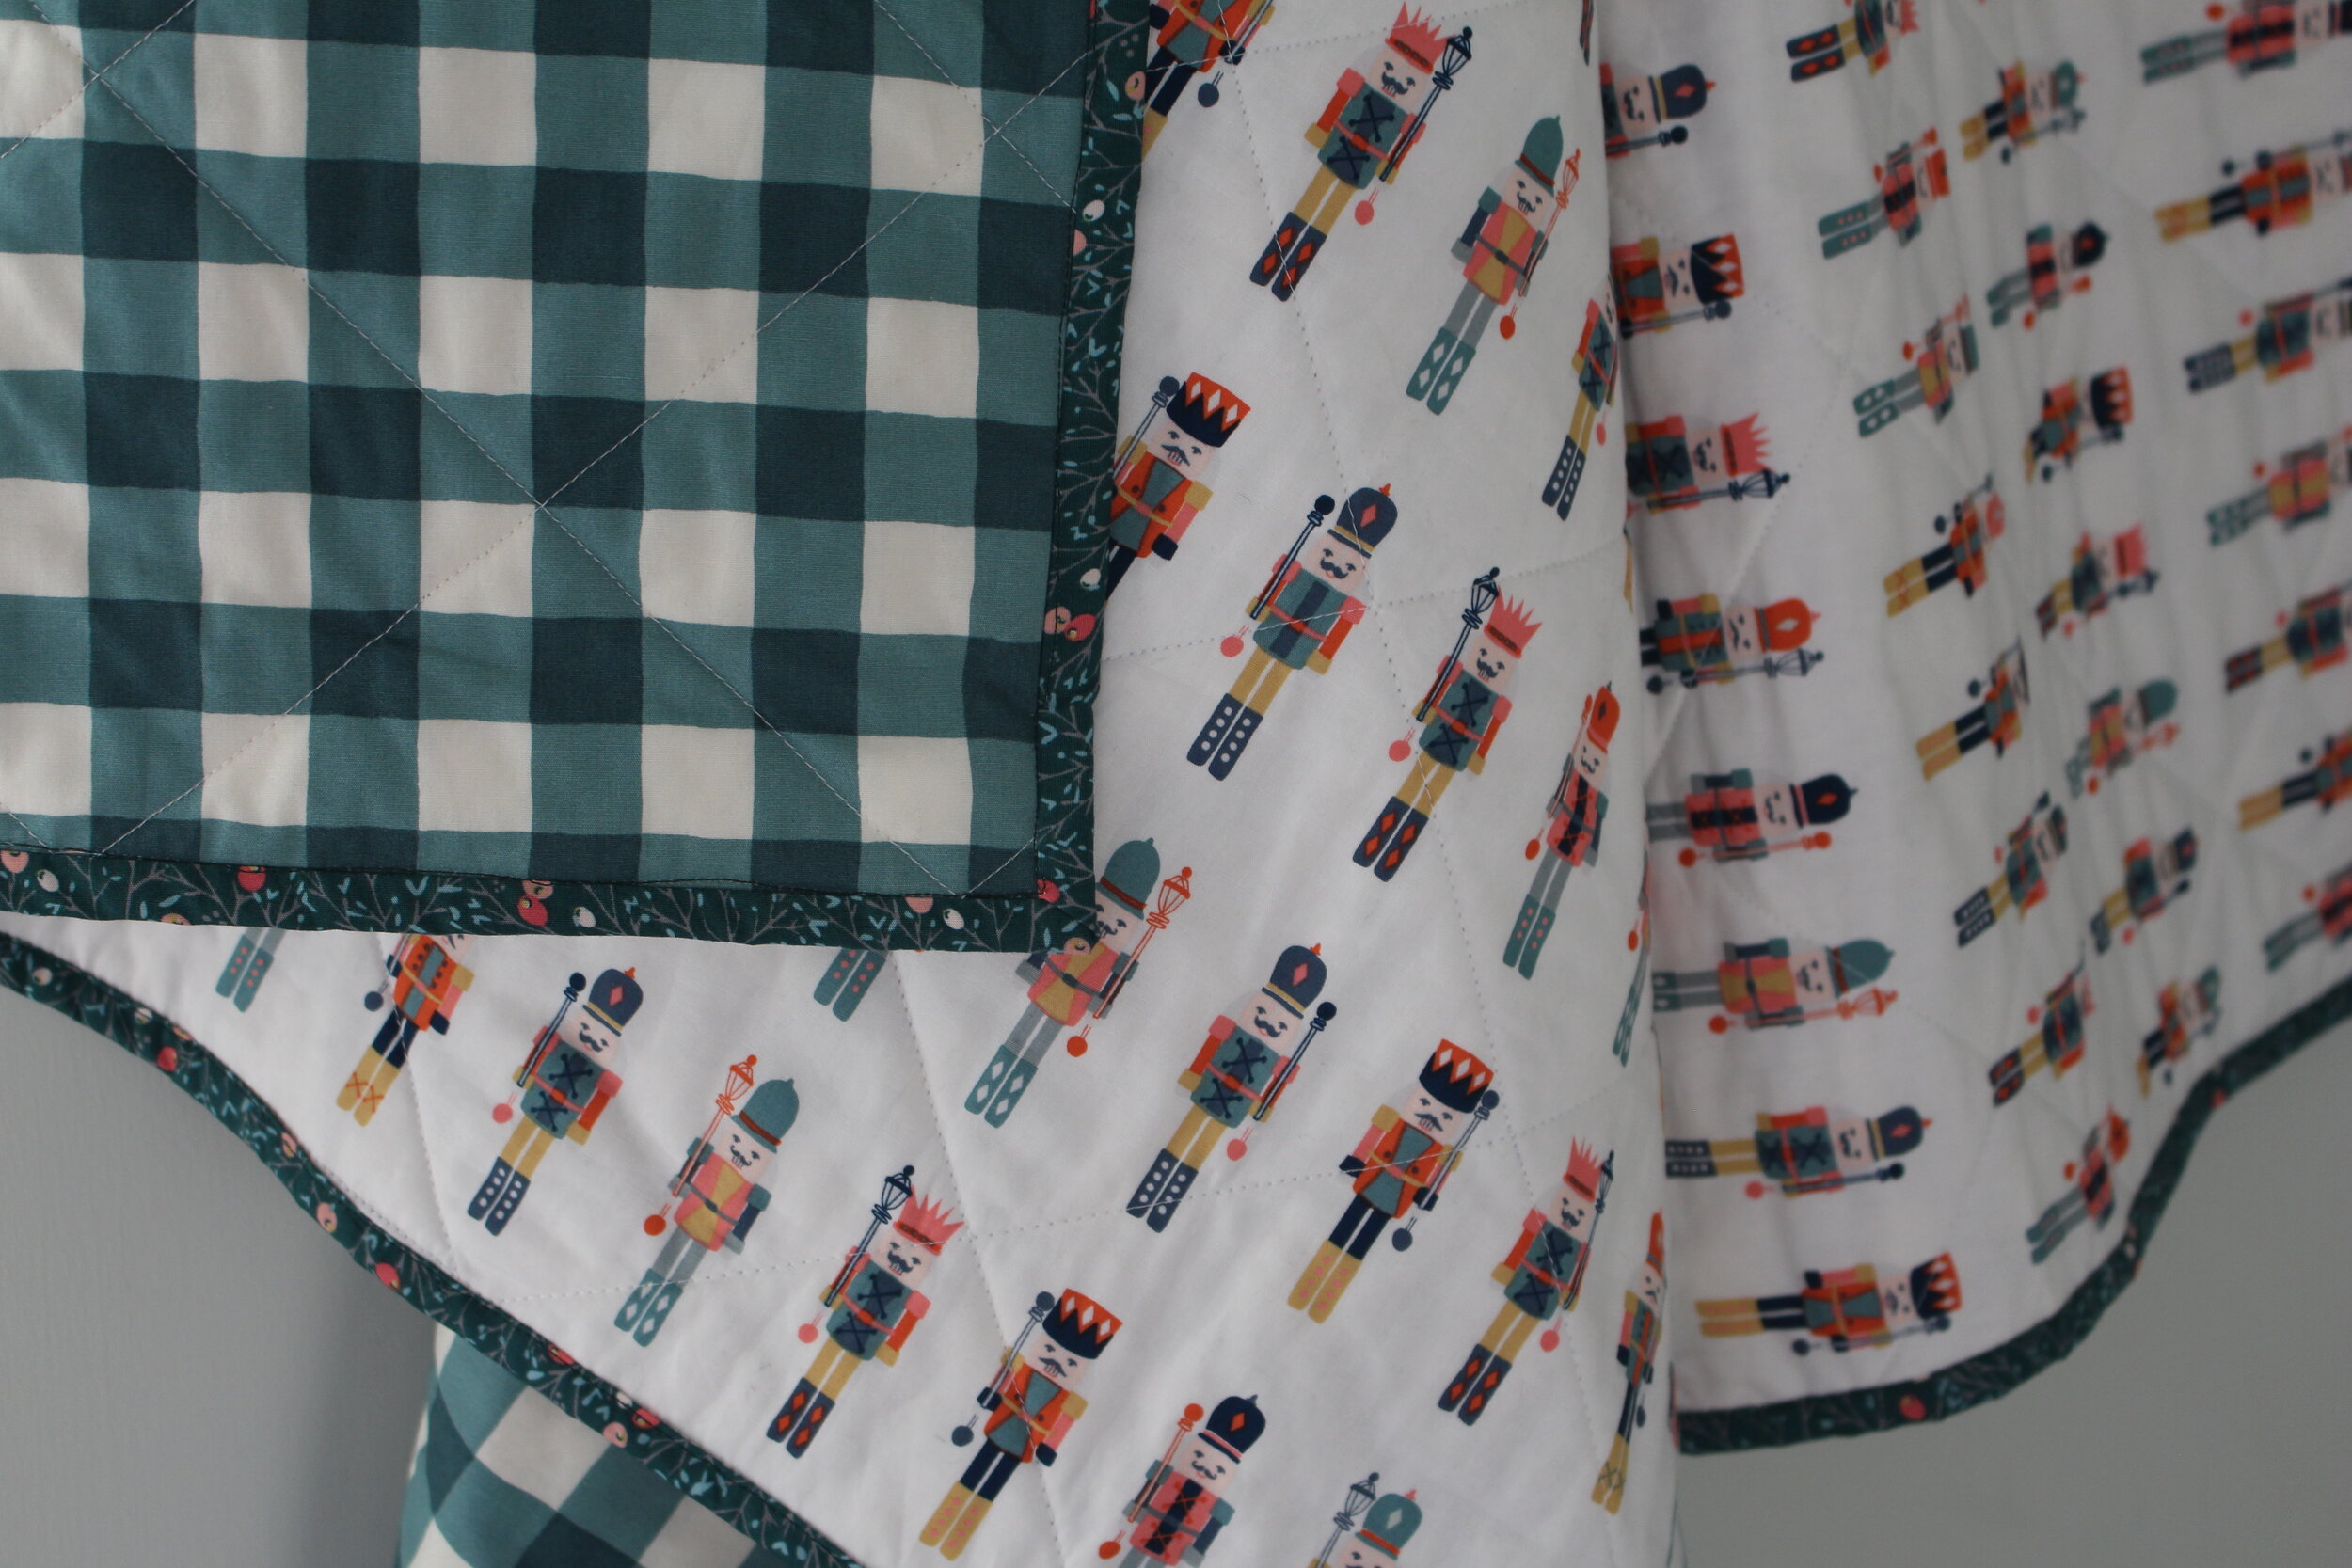
The fabrics I used were from Cotton and Stitch:
Art Gallery Fabrics - Cozy & Joyful 100% Cotton Fabric - Green Plaid Of My Dreams
Art Gallery Fabrics - Cozy & Joyful 100% Cotton Fabric - Jolly March
Art Gallery Fabrics - Little Town 100% Cotton Fabric - Winterberry Spice
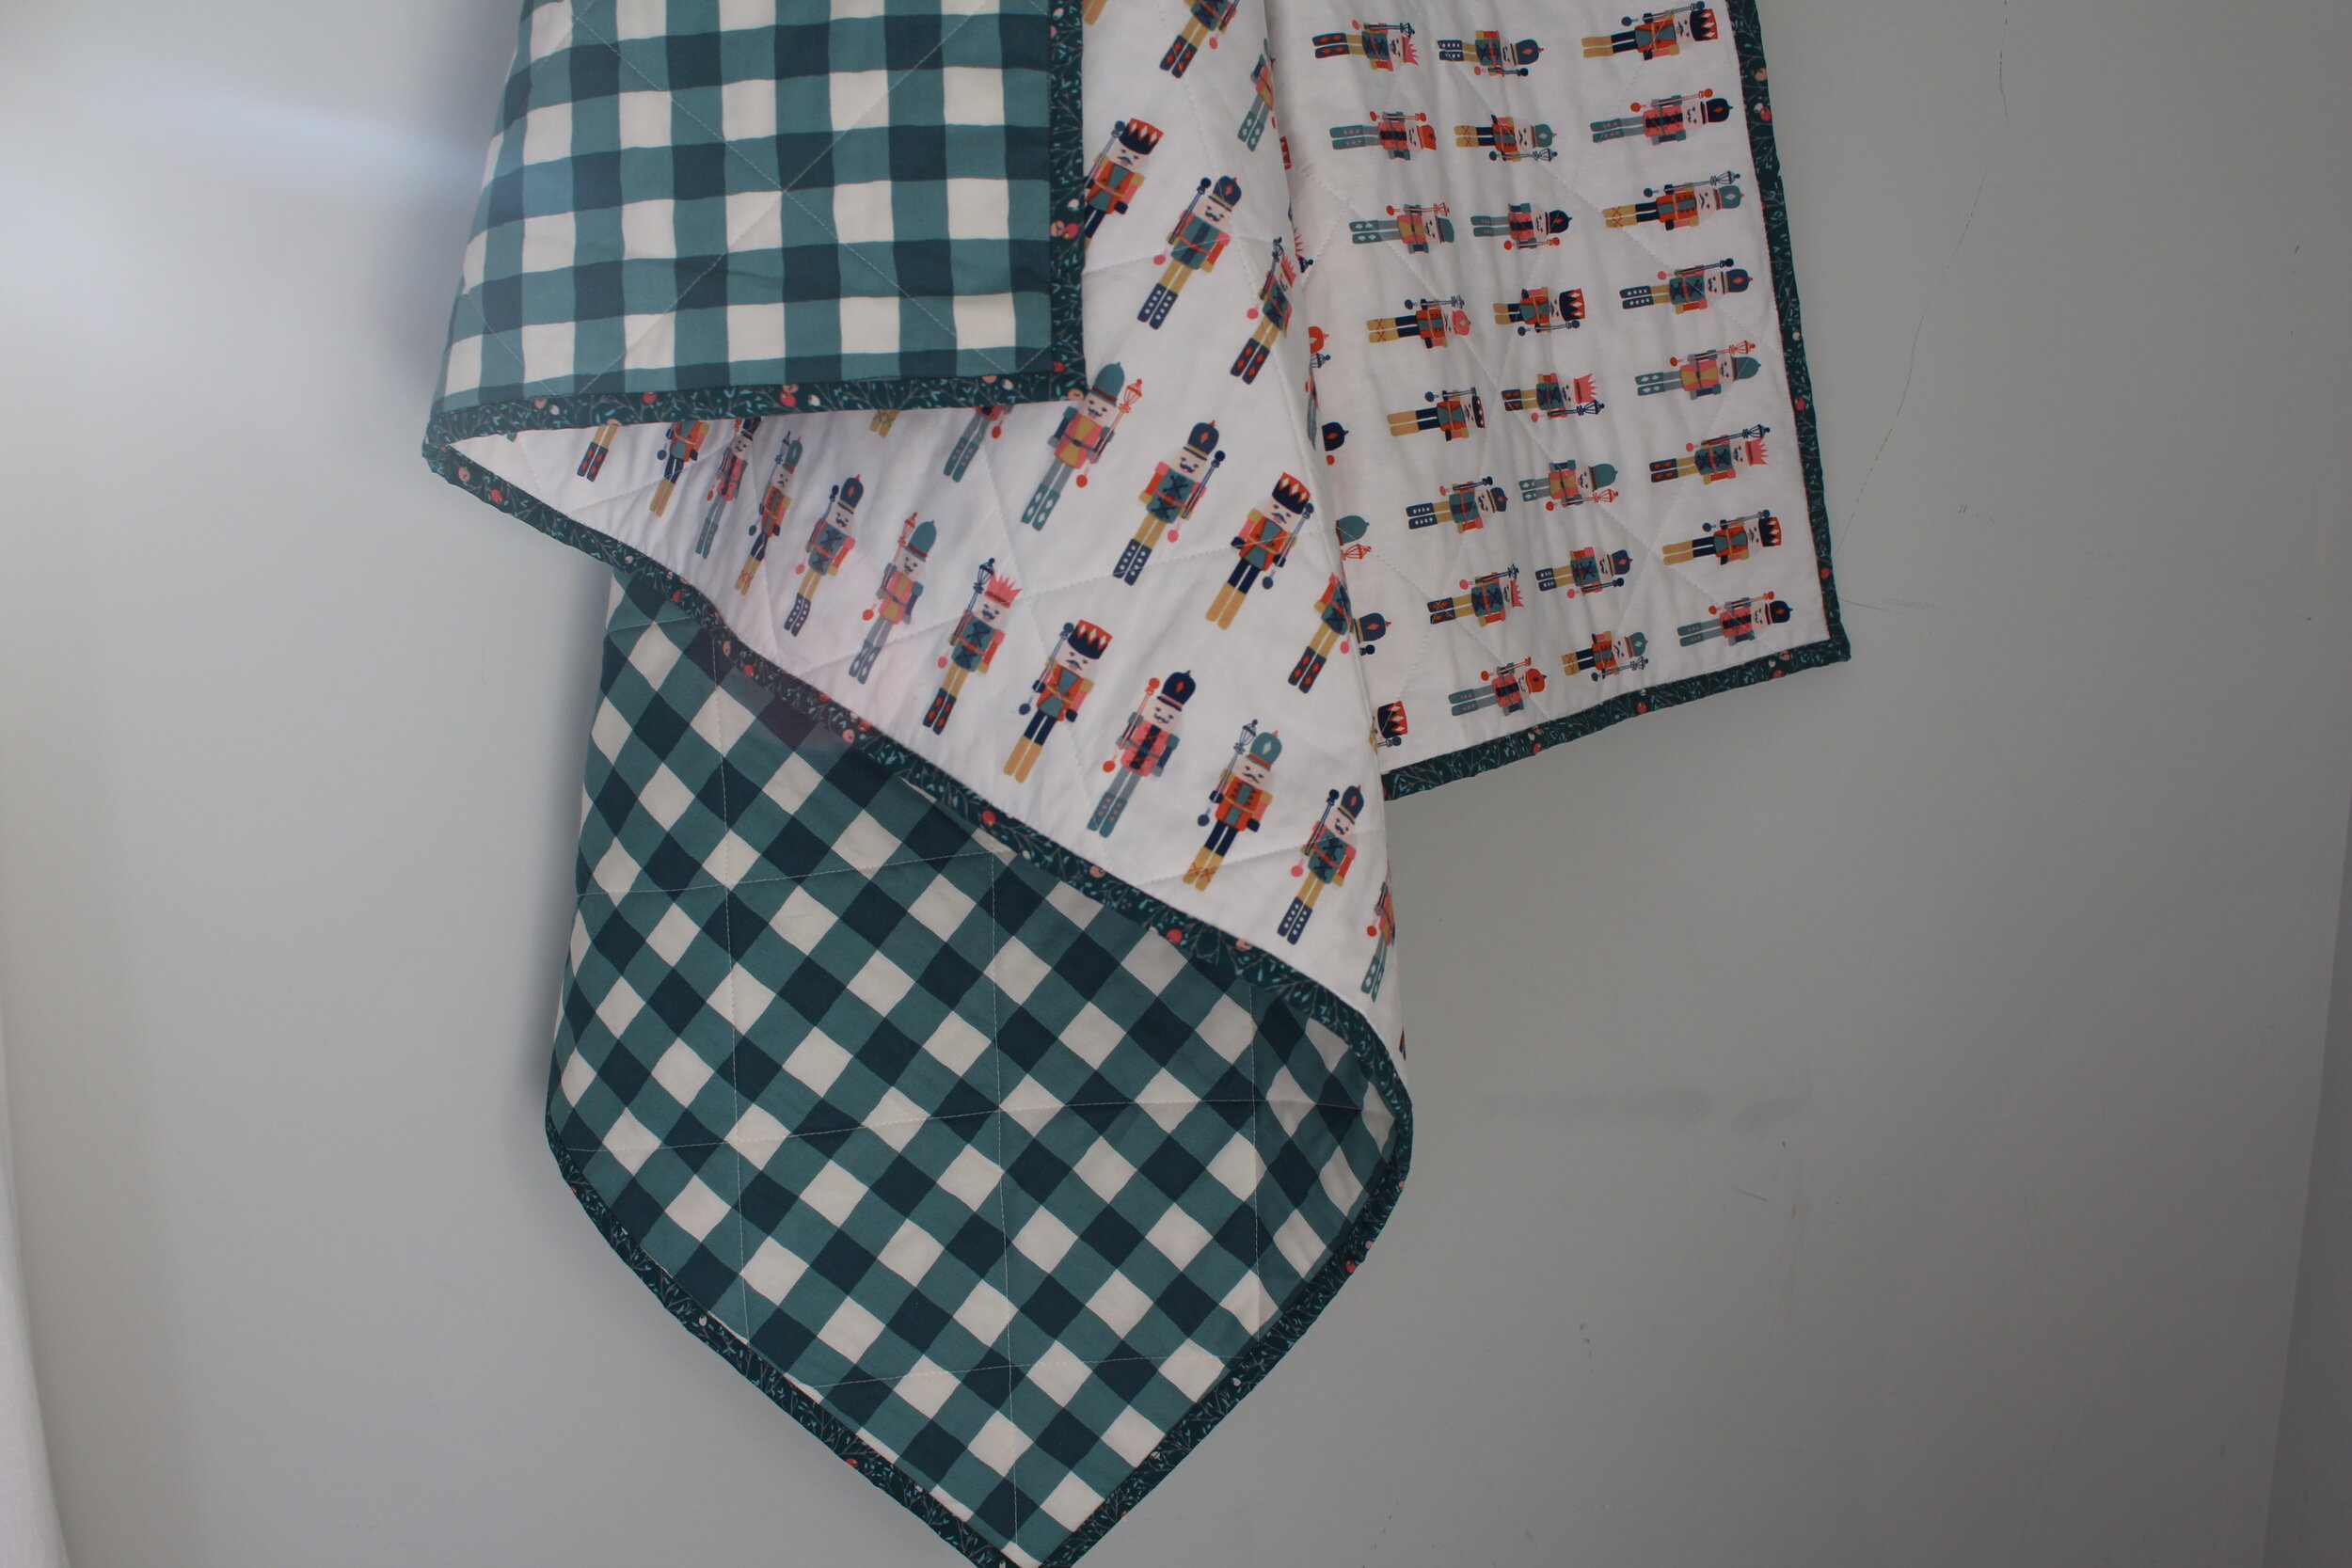
Finished quilt size: 42” x 40”
(42” x 36” if a yard is used)
Step One
The great thing about a small size wholecloth quilt is that most of the work is already done for you. If you have ordered a metre (or yard) of fabric then it is ready to use, no need to cut to size.
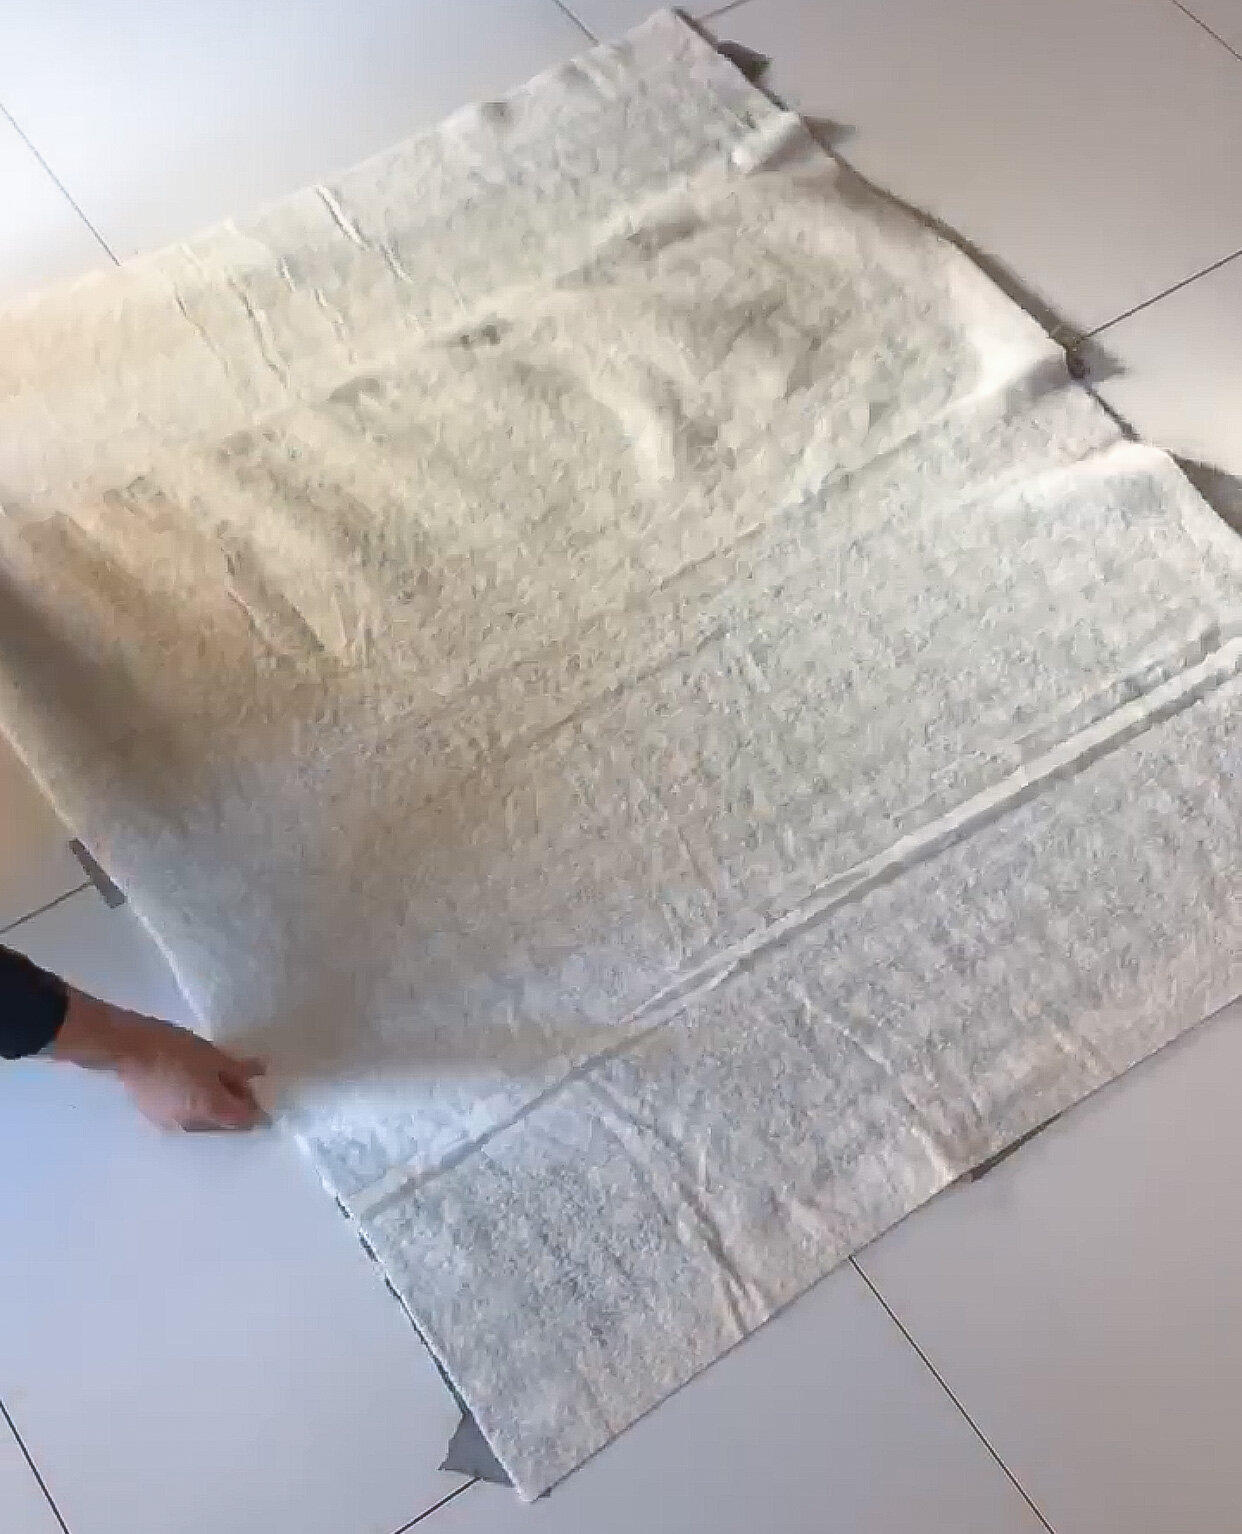
The first thing you need to do is iron the backing fabric and lay it on a clean, flat surface. Preferably a hard surface which you can use tape to hold the fabric taught. Make sure to lay the fabric the WRONG side up (pattern facing down).

Step Two
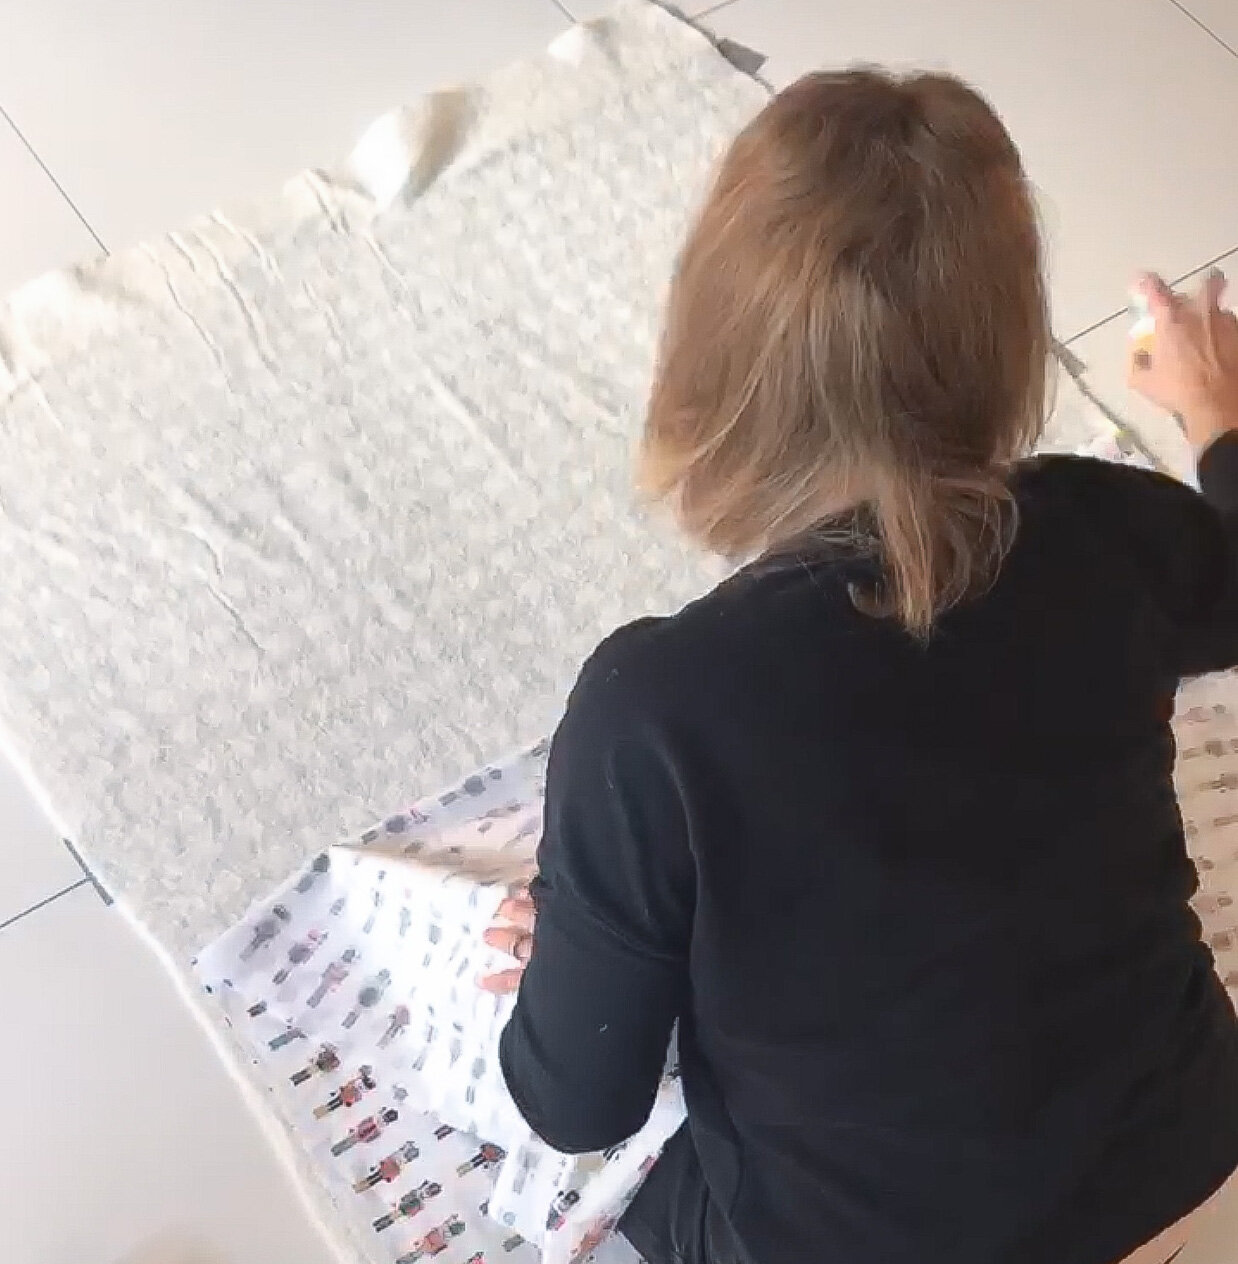
This is the method for using basting spray not pins:
Lay the wadding on top of the backing fabric. The wadding should be cut a little larger than the fabric to make sure is covers it easily.
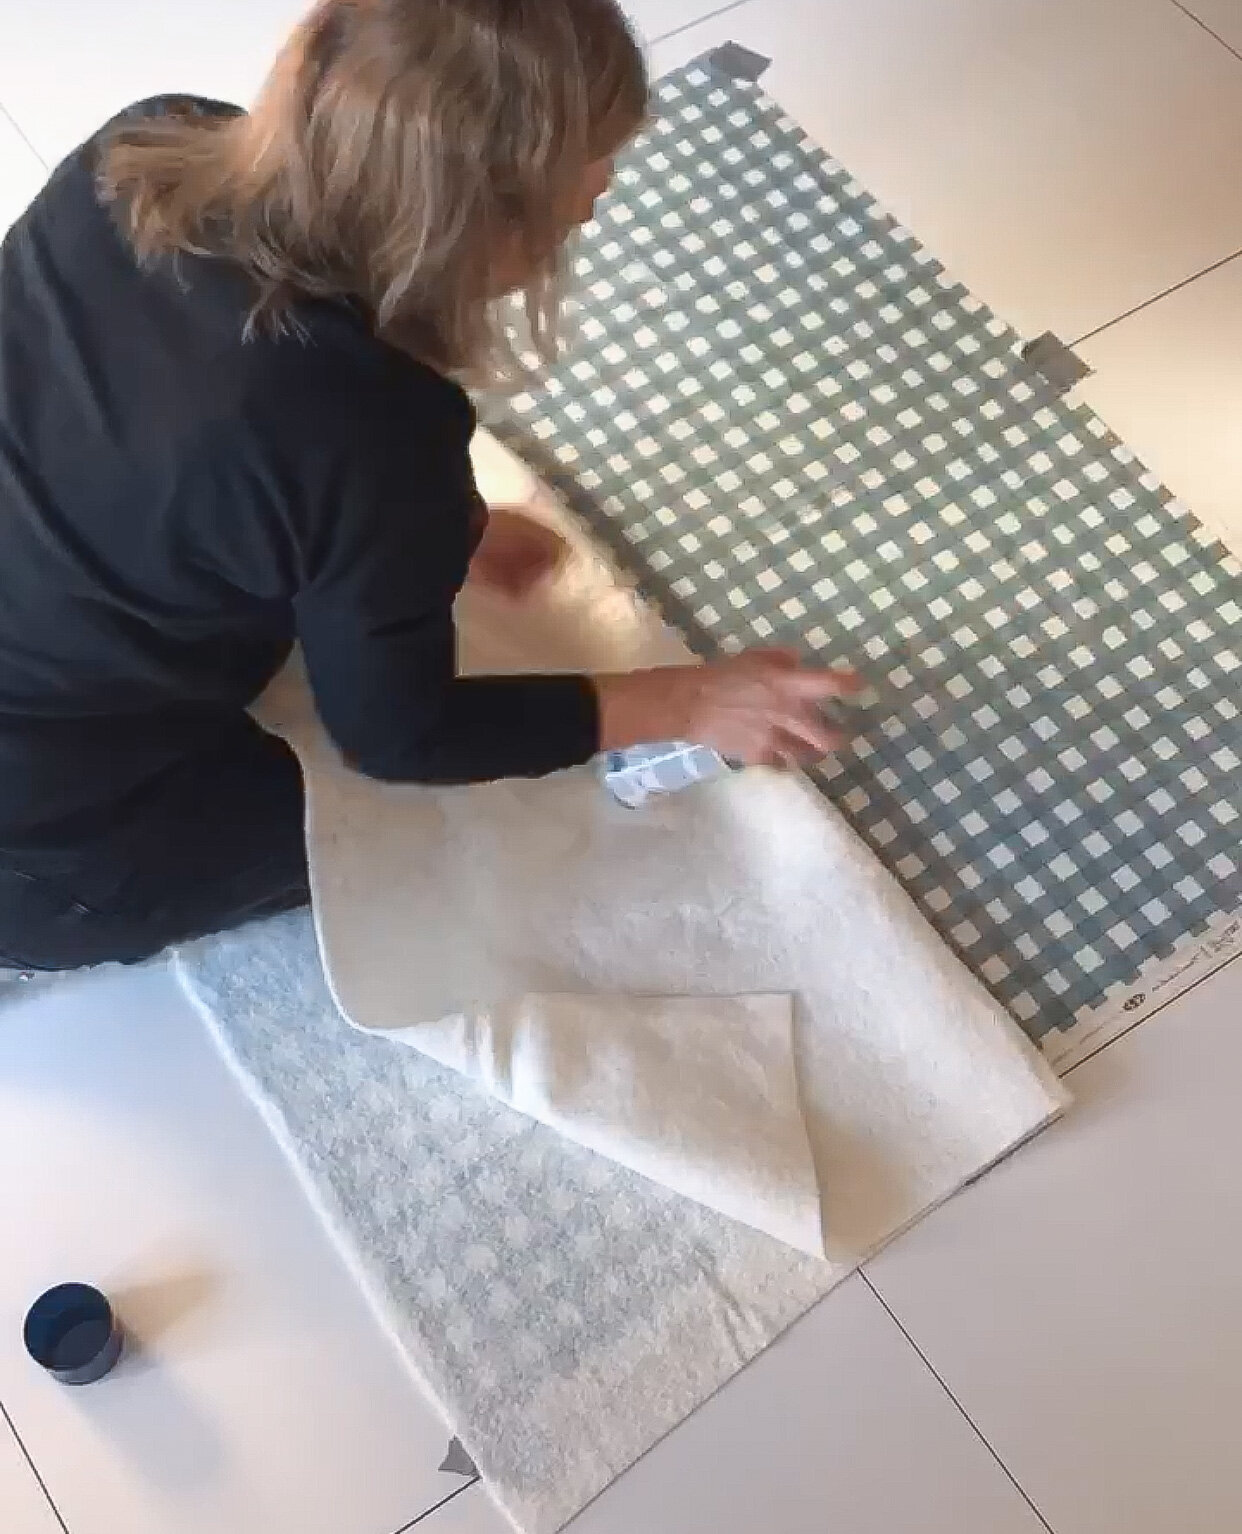
Pull one half back and spray the back of the fabric with basting spray.
Re-lay that half of the wadding carefully, avoiding lumps and bumps. Simply pull it back an re-lay if you encounter any lumpy bits!
Step Three
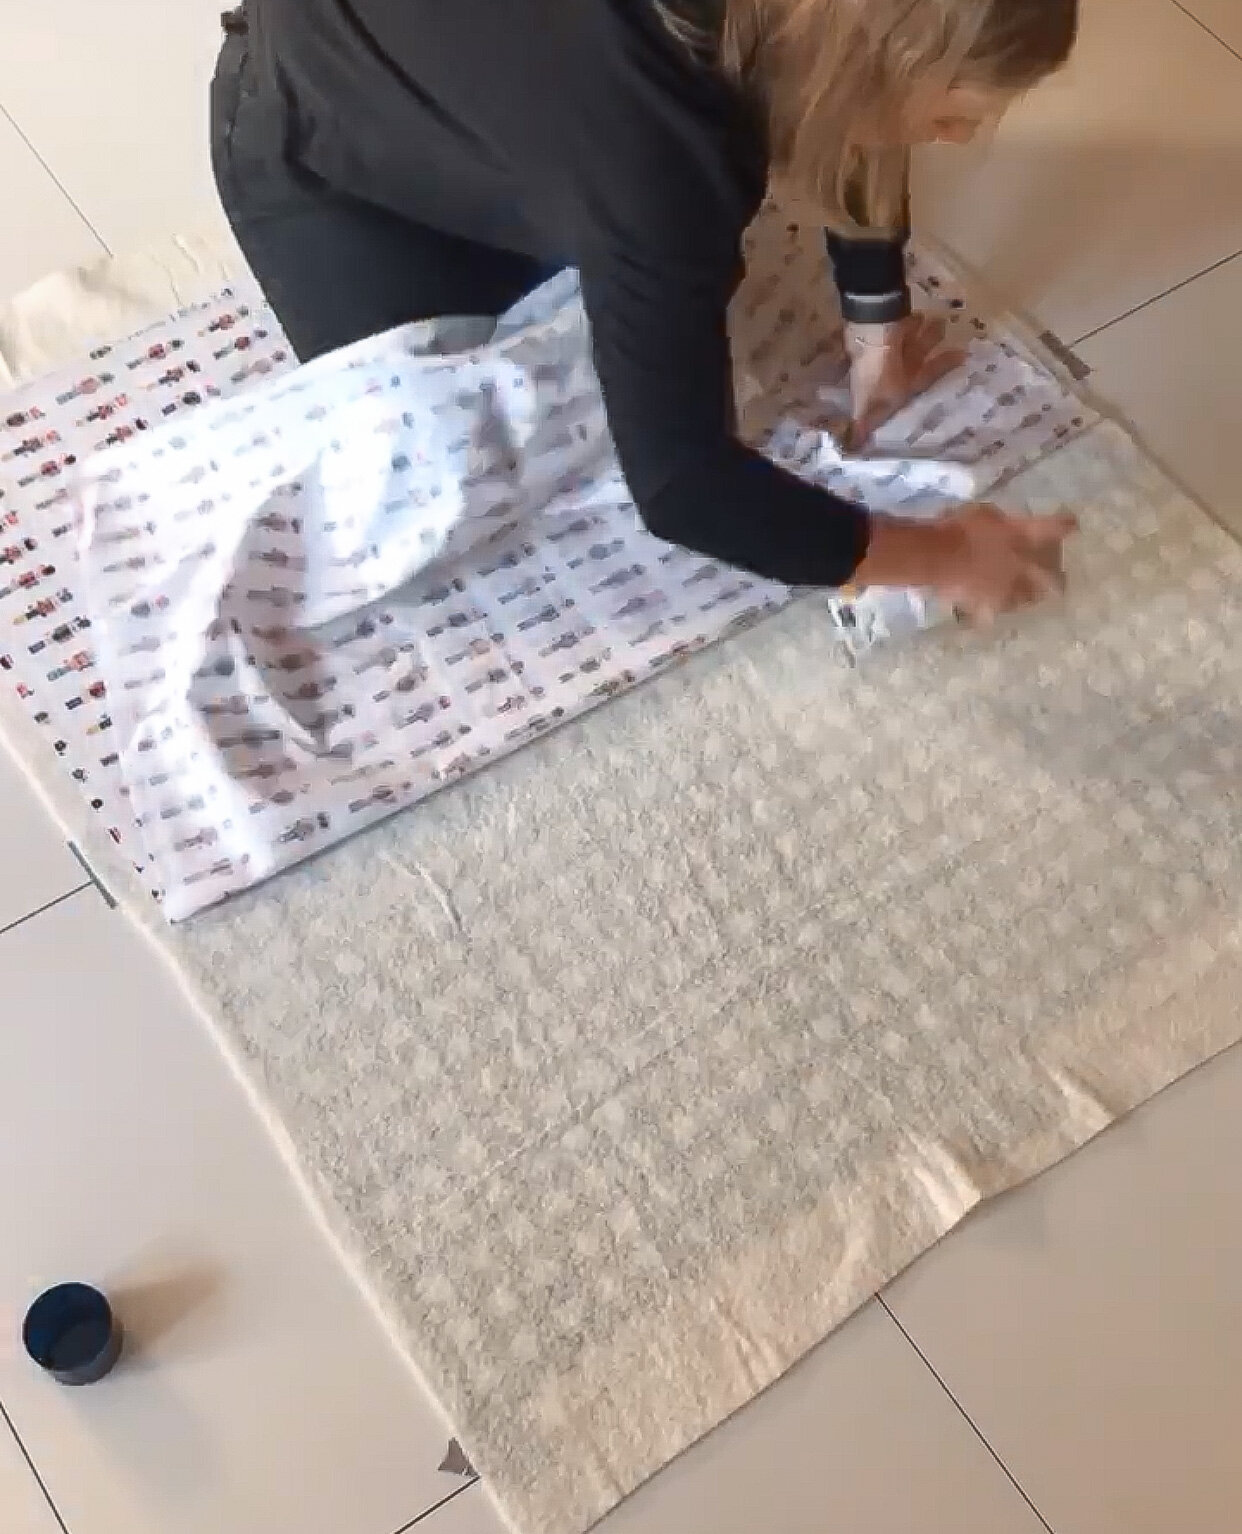
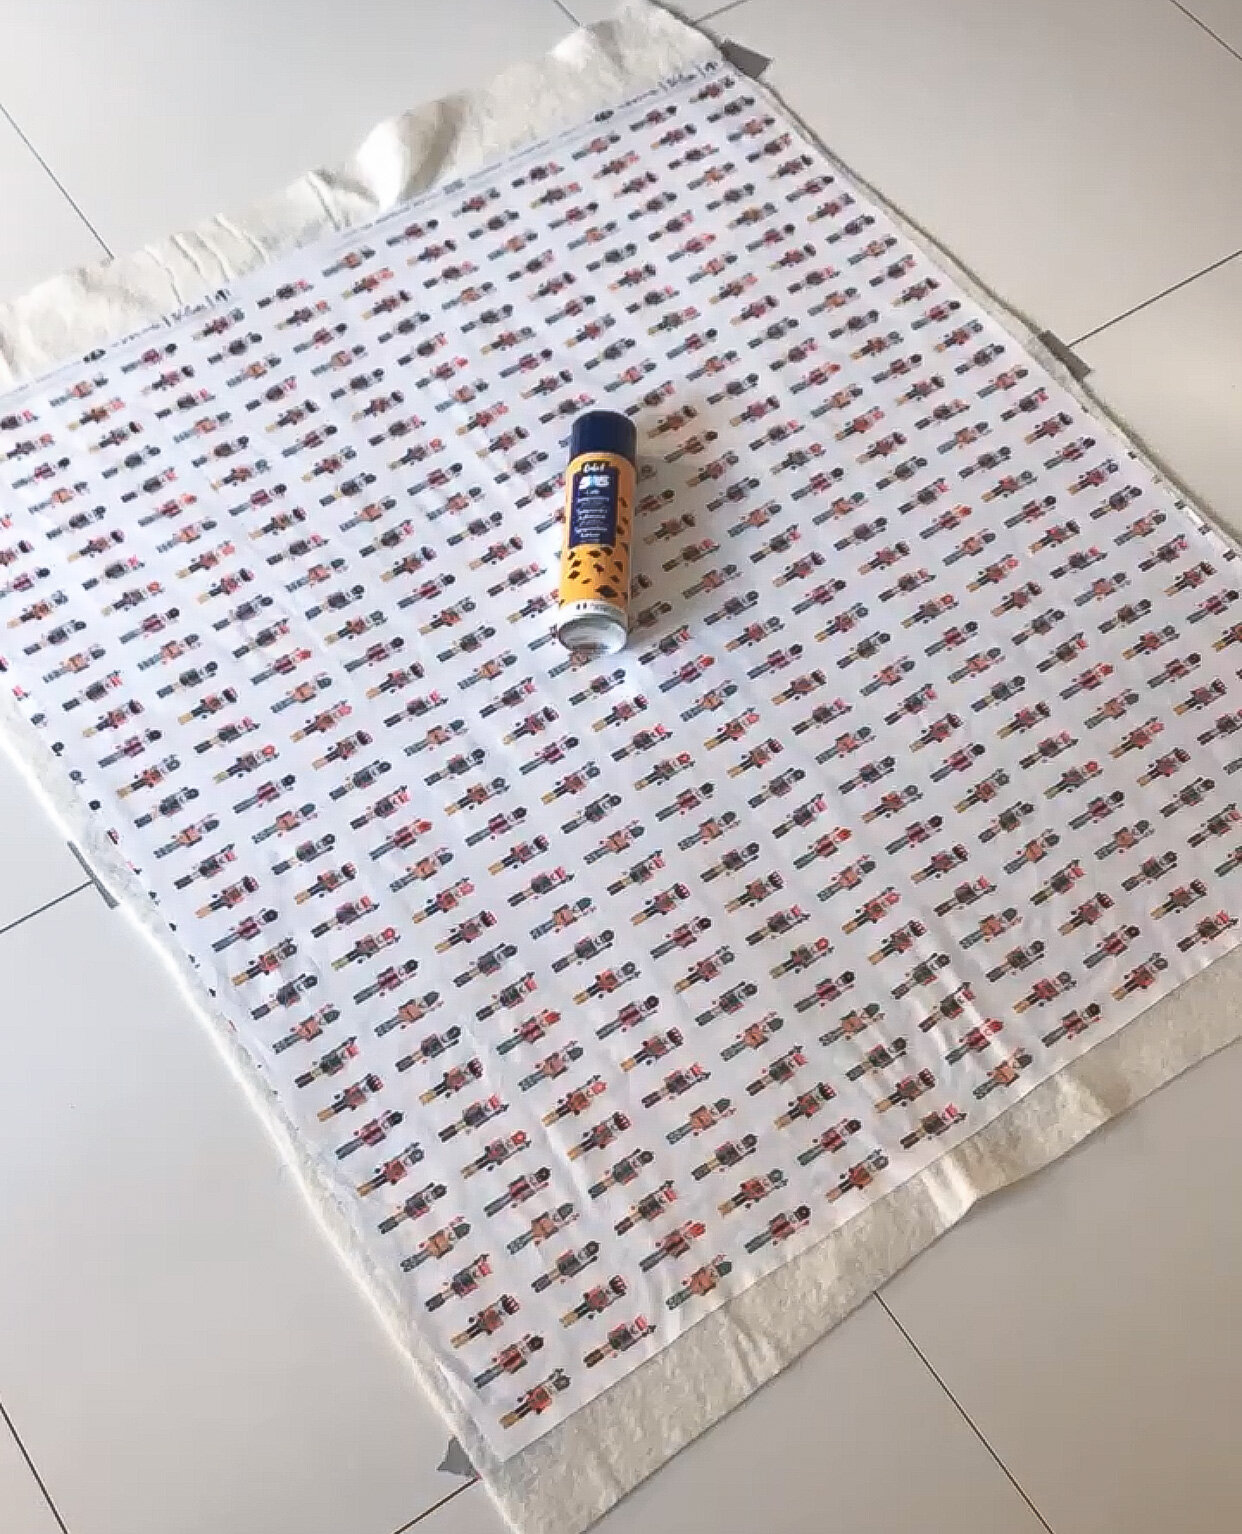
Next you need to lay the top fabric carefully, making sure you have lined it up with the bottom fabric. If you have chosen a metre (or yard) of each fabric then you won’t have much ‘wiggle’ room to misalign them. On a normal patchwork quilt you have a larger backing to the top to make sure it covers it completely.
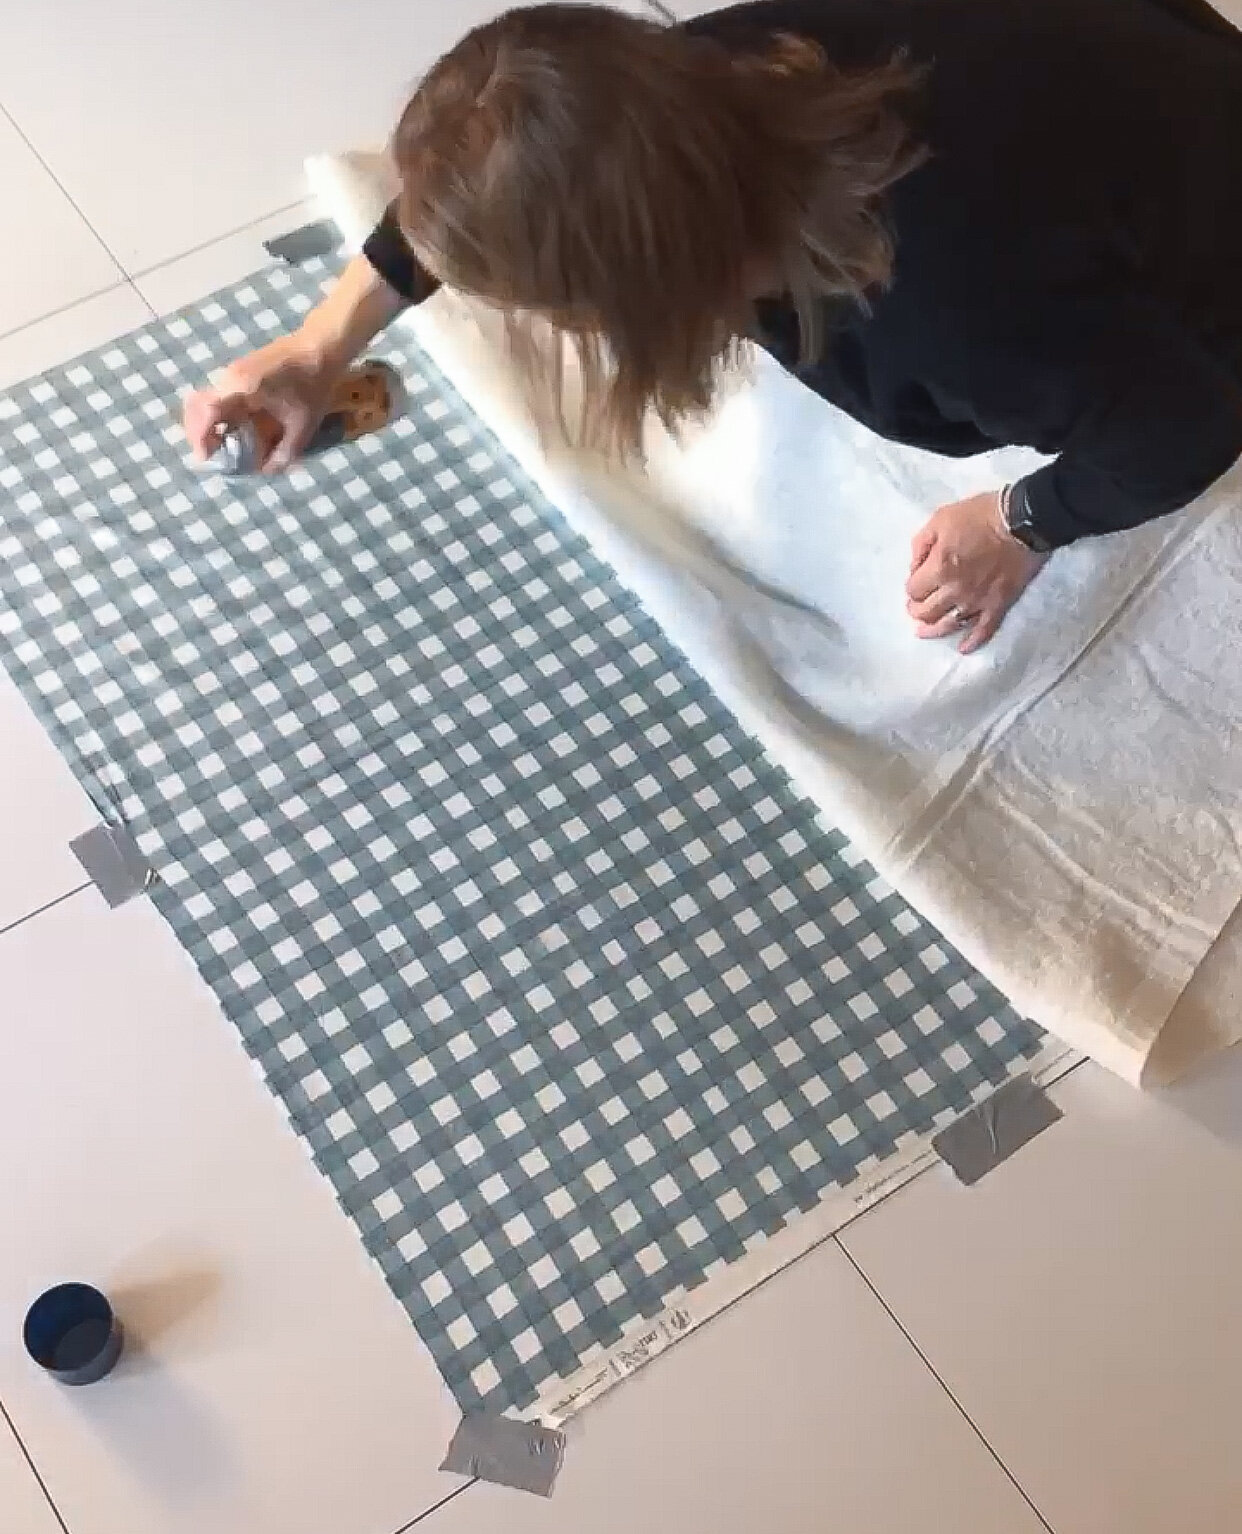
You now need to spray baste the top to the wadding like you did previously in step two. Take one half of the fabric and then the other, being very careful to lay it back down with no ripple or bumps.
You want to end up with a totally smooth top, ready to quilt!
(My favourite spray to use for basting is Odif 505 Spray, but it has become very scarce in the UK during 2020 - this is my second favourite brand, works just as well; Crafters Companion Stick & Spray).
Using pins instead of spray!
If you want to use pins to secure the layers instead of basting spray then lay the bottom back fabric as shown above and secure with tape. Lay the wadding as flat as possible and then the top fabric.
Smooth out the layers making sure the top has no wrinkles or bumps.
Take your pins and imagine roughly a 4 inch grid and place a pin in each corner. Use a ruler to measure 4 inches from each pin, you do not need to draw a grid, the diagram below is to help explain.

Step 4
Now it is time to quilt your quilt! You can use any quilting design you like, there are no rules on what you have to do.
I marked 4 inch parallel lines with an erasable fabric marker diagonally across the quilt in opposite directions which resulted in a diamond effect.


Step 5
Time to square off your quilt now that it is secure after quilting.
Use a large cutting matt, lay the quilt on top and trim using a rotary cutter. Make sure to be accurate and keep a 90 degree angle at the corners. This will enable you to get neat tight corners when you add the binding.
Step 6
Making your binding!
Cut 5 x 2 1/2” WOF strips of your binding fabric.
Sew the strips together then fold this long strip on fabric in half length ways and press with an iron.
Attach the folded fabric to the quilt so the raw edges are together and sew a 3/8” seam allowance.

Step 7
Sit back and admire your beautiful quilt and enjoy snuggling up underneath it watching your favourite Christmas movie!

Thank you for reading this blog, I hope you enjoyed it,


